Part 1 — Getting Started
What is Twine?
If you've ever read any of the Choose Your Own Adventure books, you already have a good handle on what Twine is.
Twine is a tool you and your students can use to create stories, games and other written documents with branching structures. You can include images, sound, music, and other things like embedded YouTube videos if you so desire. It's spectacular for creative writing.
With a little research and practice, you can also make Twine keep track of variables (for example, how many questions a student answers correctly), make dynamic documents that change depending on the choices the reader makes, and all sorts of other things.
Oh, and did I mention Twine is free?
The output of Twine is an HTML webpage, but you don't need to know anything about HTML to work in Twine — and there are websites that will host Twine documents for free!
Let's get started!
Creating your first Twine document
The first thing we're going to do is go to twinery.org. That's Twine's official website. The Wiki on that page is quite helpful, and I wholly recommend reading one of the tutorials if you get stuck.
Second, we're going to click on the "Try The Beta" link. There's also an option to download Twine so you can install it on your computer and work offline if you want, but we'll use the browser-based version of Twine today.
Clicking that link takes us to this screen:
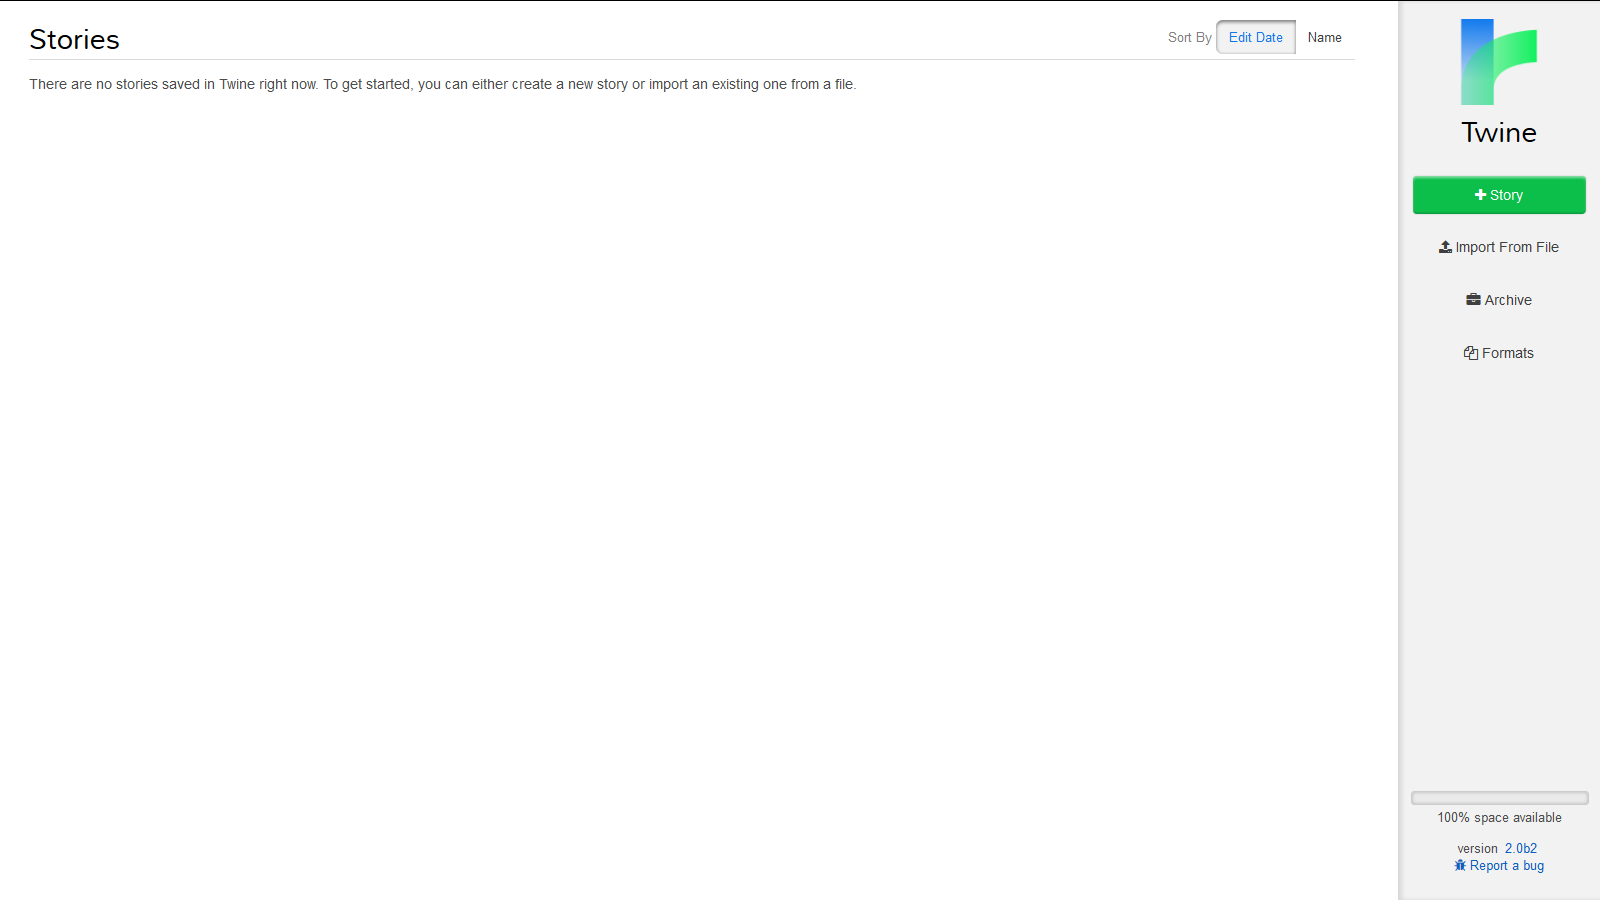
From there, you'll click the green button marked "+ Story." Then, you'll be prompted to give your story a name! Enter the name of your story, press Enter, and click on the name of your story, which will have appeared in the Stories list.
. . . Whoa! Looks like a blank blueprint! We'll fill that soon enough. Time to make our first passage.
Writing the first page of your story
Go ahead and click the green "+ Passage" button. A little translucent box titled "Untitled Passage" will pop onto your blueprint; you can drag this box around at your leisure. And just like the box says, you can double-click it to edit the passage.
Before we do that, though, let's hover our mouse cursor over the box and click the last icon (the rocketship) in the menu that shows up below the box. Clicking the rocketship designates this passage as the starting point — whenever a reader opens the story, this is where that reader will start.
Now it's time to write. Double-click the passage. This opens an editing box with three parts: A line for the title, a place to add Tags (more on this in a future installment), and the body of the passage. Give it a title and write a bit. Write about anything! When you exit the passage and return to the blueprint screen, the passage's box will show the beginning of your passage.
With your first passage complete, it's time to move on to the next page — and it's time to introduce some interactivity to your narrative.
Introducing reader choice
When you're finish writing your passage, it's time to give your readers somewhere to go next by linking to another passage. Twine makes this easy: Just put the name of the next passage inside double brackets, like this: [[Passage 2]], or this: [[2]], or this: [[Antechamber]] — whatever you want your next passage to be named.
Here's where things get really interesting: you can give your readers the choice of two or more passages to visit next, and all you have to do is add another link or links by using those double brackets. Here's a very simple example:
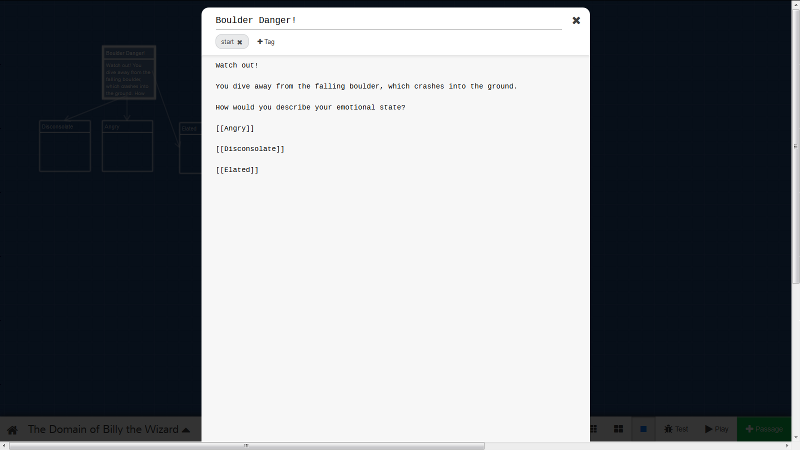
When you add links to a passage, Twine will automatically create the new passages for you.
In the background of the picture above, you can see a flowchart that shows how the passages link to one another. As your story becomes more complex, this will help you manage it. You can drag and drop those passage boxes wherever you like.
Testing and Publishing your story
As you build your story, you'll probably want to test it often to make sure it works correctly. Testing becomes more important when you use some of the more advanced features Twine has to offer (which we'll talk about in a future post).
To test your story, just click the "Test" button in the menu bar (it's near the "+ Passage" button we used earlier). This will open a new window with your story inside. Test your story to your heart's content, make sure it works exactly the way you want it to.
When you're ready to publish, click the name of your story (in the menu bar, next to a "home" icon). In the menu that pops up, click "Publish to File." Twine will create an HTML document which your browser will automatically download. To read your story, open the document. It's that easy!
Sharing your story
Now you need to give your readers a way to read your document.
If you have your own website (or, say, a teacher's page on your school's network), you can just upload the HTML file and visit it whenever you like.
If not, there are websites that will host your Twine story for free. Philome.la is one of these websites (caveat: you need a Twitter account to use it). You can also use Adventure Cow.
Once you've uploaded your story, share its web address with your readers and you're good to go.
What's next?
If you make any Twine stories, or if you have any questions, share them in the comments! We'd love to see what you come up with.
Next time, we'll talk about some of Twine's more advanced features, including variables and conditional logic. You can use these to make intricate story structures, passages in which the text changes depending on the reader's previous decisions, and just about anything you can imagine.